> For the complete documentation index, see [llms.txt](https://docs.hypersign.id/llms.txt). Markdown versions of documentation pages are available by appending `.md` to page URLs; this page is available as [Markdown](https://docs.hypersign.id/hypersign-id/on-chain-kyc/contracts-deployment.md).
# Contracts Deployment
Please read [introduction](/hypersign-id/on-chain-kyc.md#introduction) before proceeding with the contract deployments on this page.
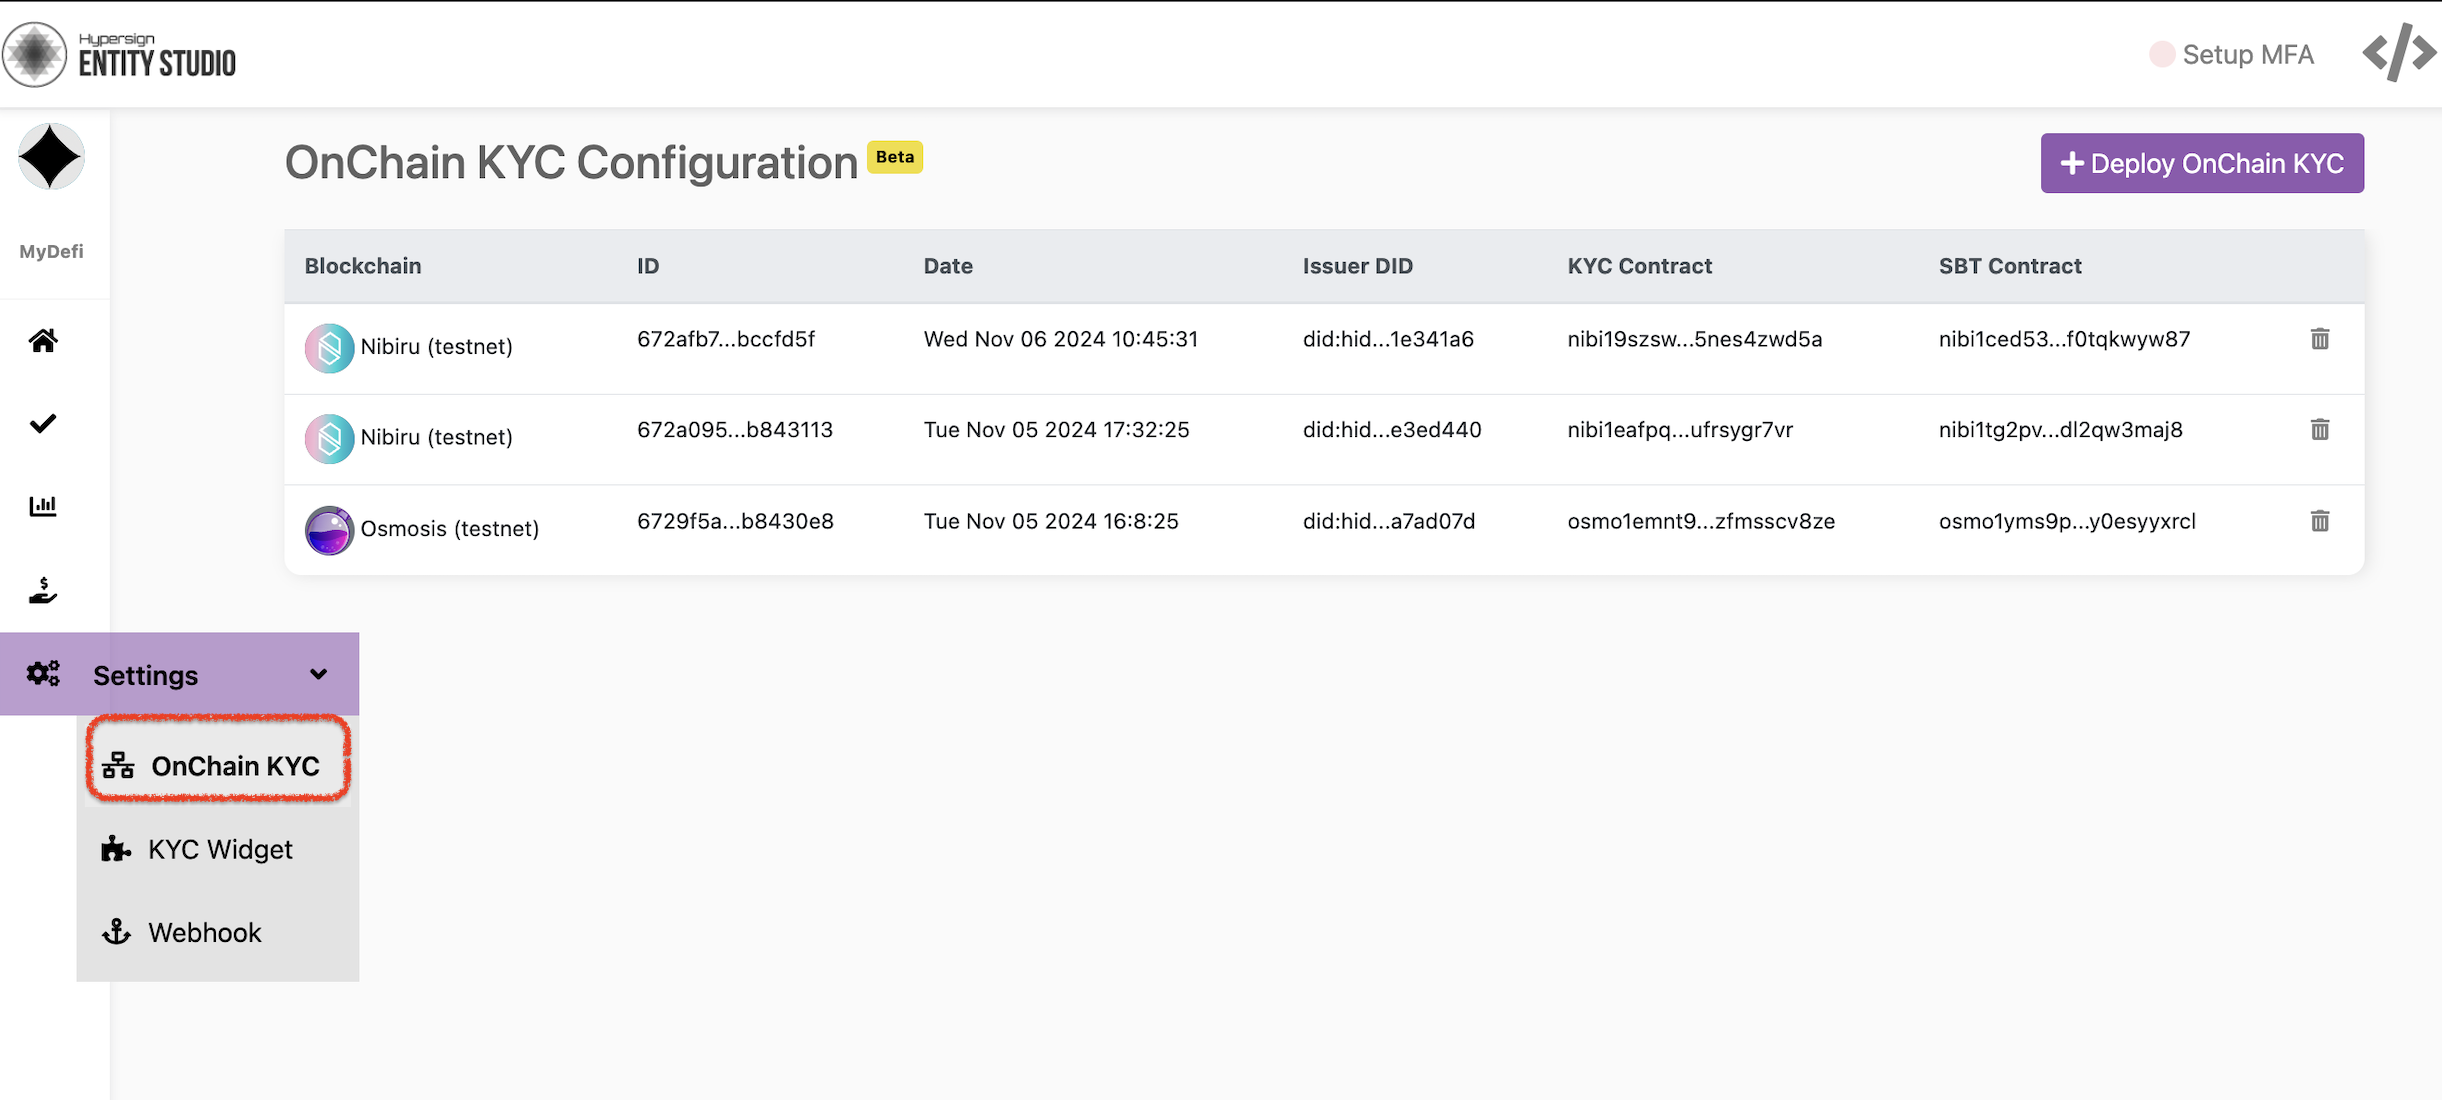
Head over to Entity Studio dashboard, choose your KYC service and click on **OnChain KYC** under setting tab in left nav bar.
Click on **Deploy OnChain KYC** button to start the process of contract deployments.
### Deploy Hypersign KYC Issuer Contract
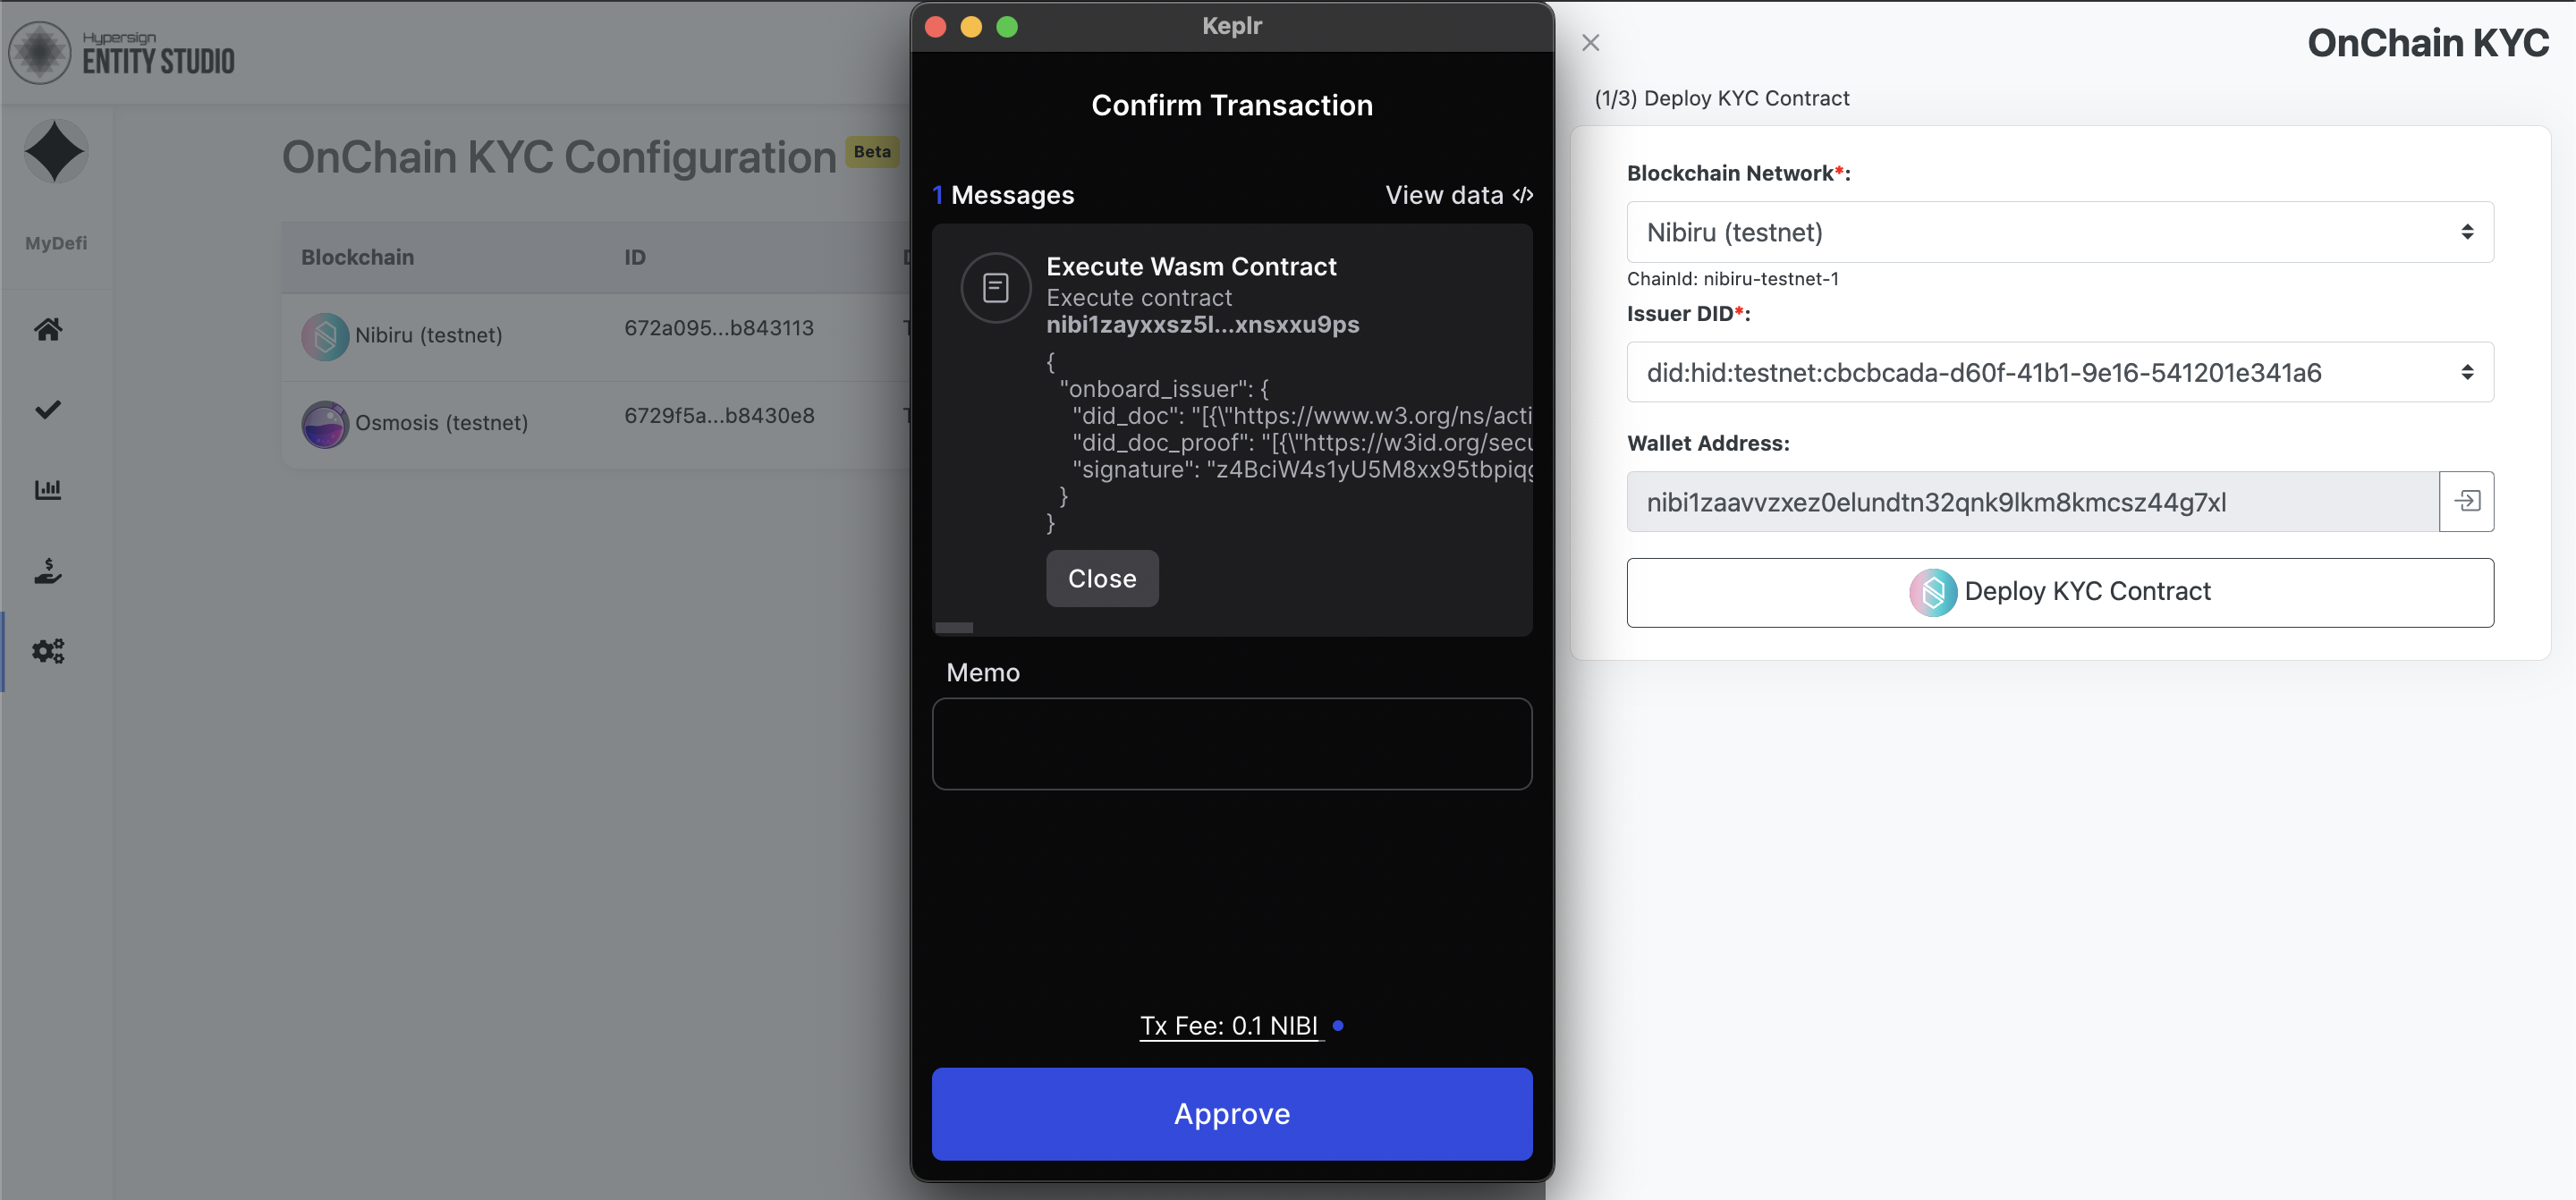
Step 1 is to deploy your KYC Issuer contract through the right slider window. Select blockchain of your choice then select a DID which you want to associate with this contract. Finally, connect your wallet and click on "**Deploy KYC Contract**" button.
{% hint style="info" %}
If you do not have any DID yet, kindly refer to [this](/hypersign-ssi/setup-ssi-service/create-your-first-did.md) documentation.
{% endhint %}
{% content-ref url="/pages/Ran74Cx714lUWZJqqH6O" %}
[Supported Blockchains](/hypersign-id/on-chain-kyc/supported-blockchains.md)
{% endcontent-ref %}
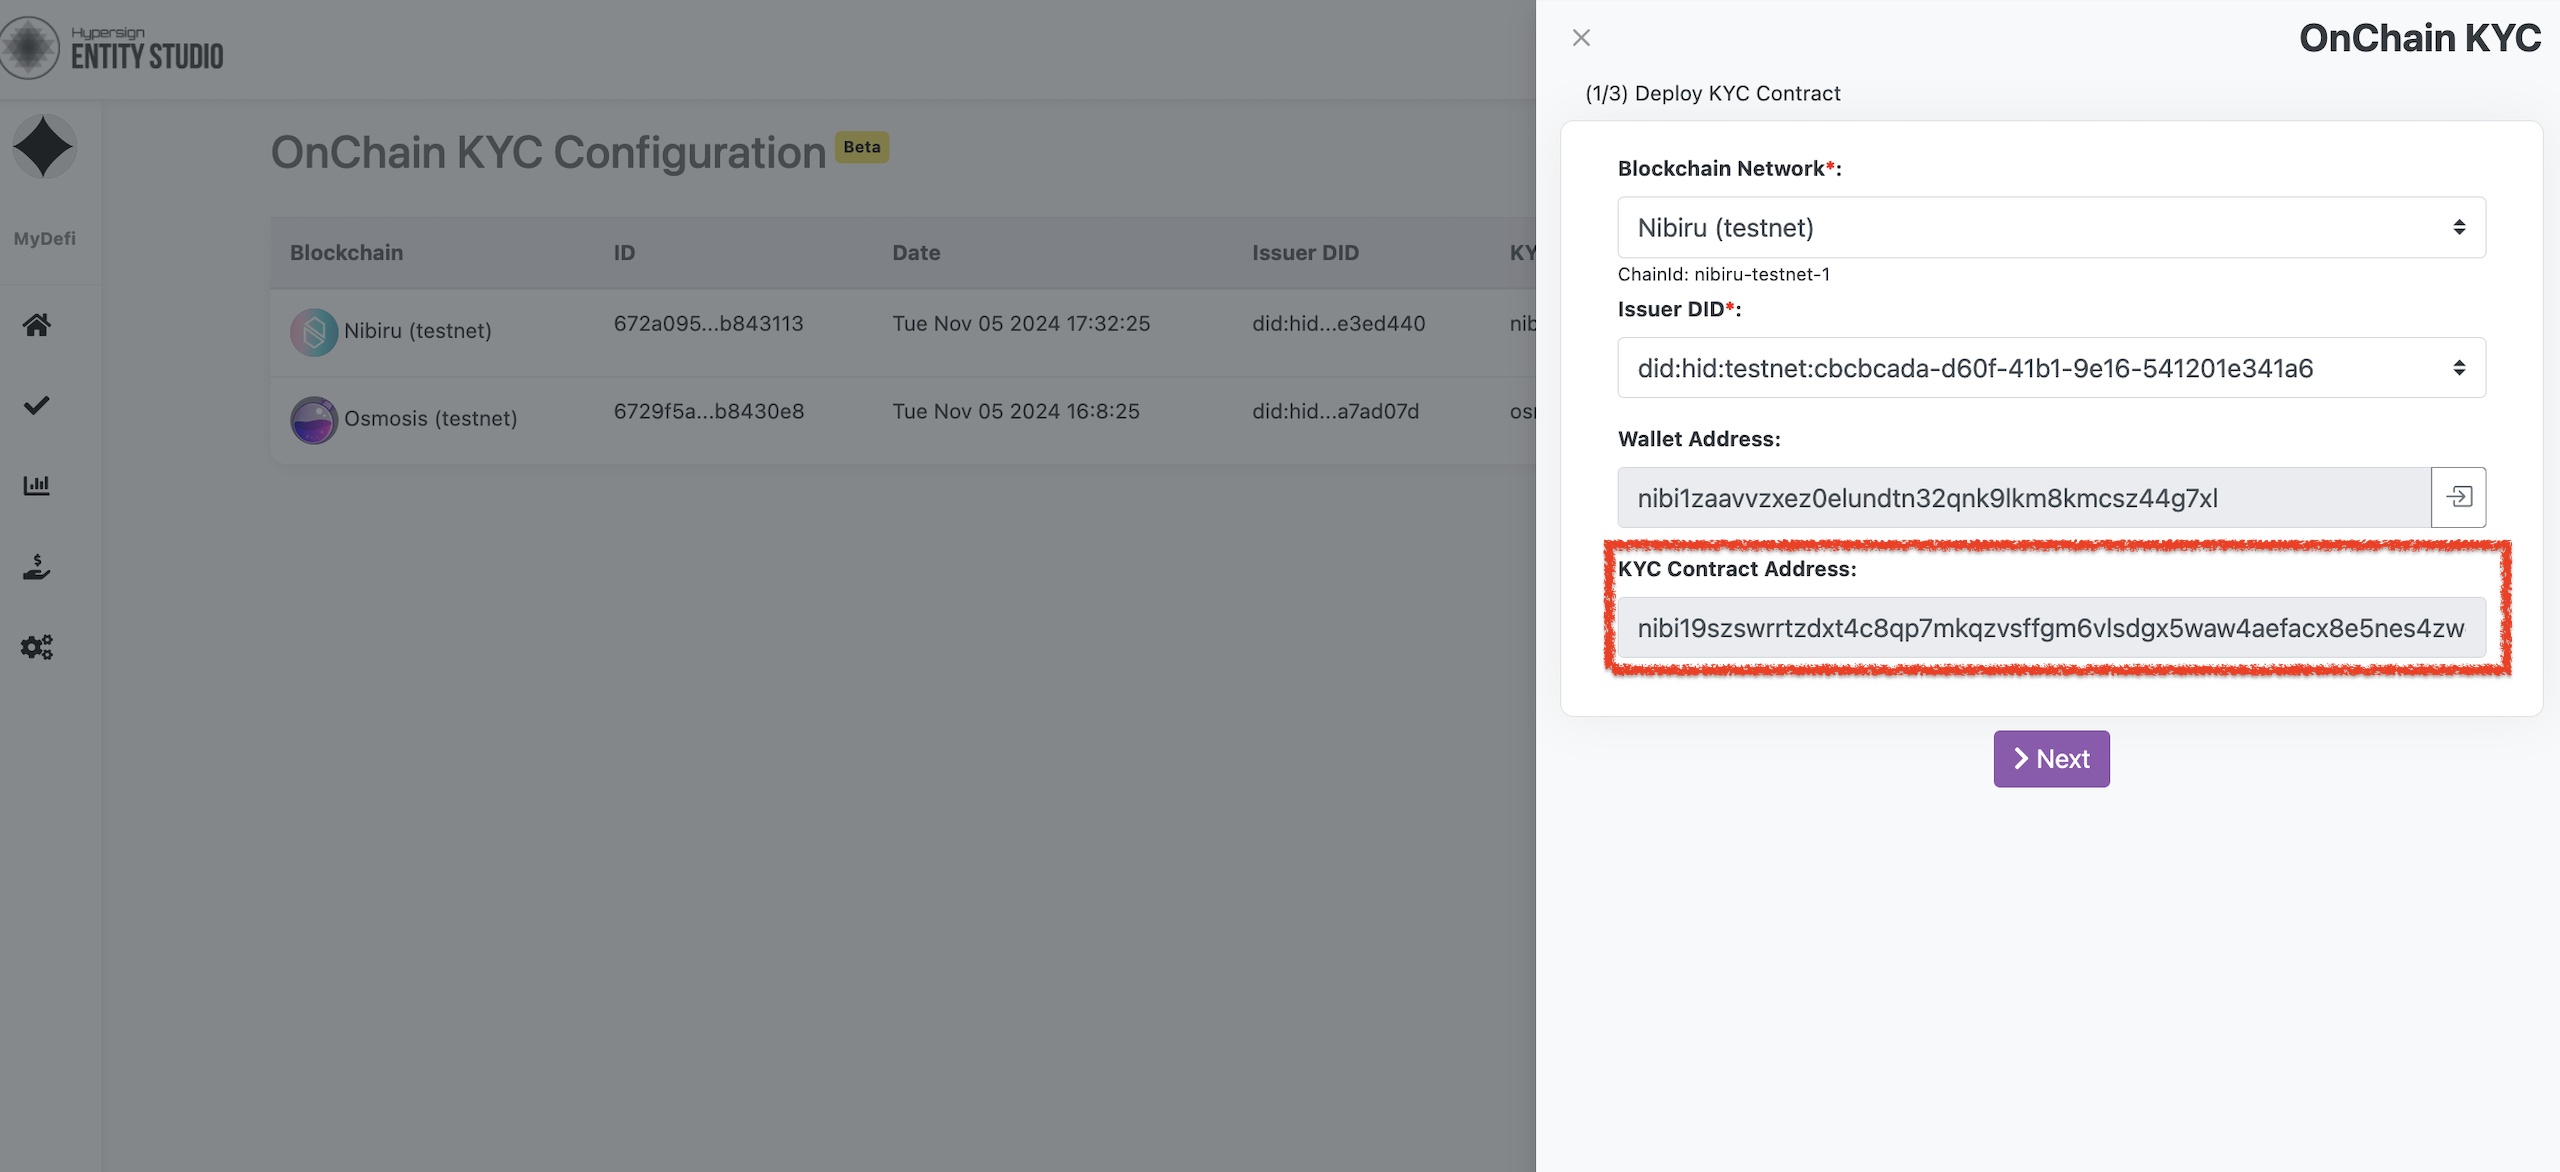
You need to authorise the transaction to instantiate your KYC issuer contract through wallet. If everything works, you will see your KYC contract address in the slider.
Click on "**Next**" button to deploy your KYC token contract in the next step.
### Deploy Hypersign KYC Token Contract (SBT)
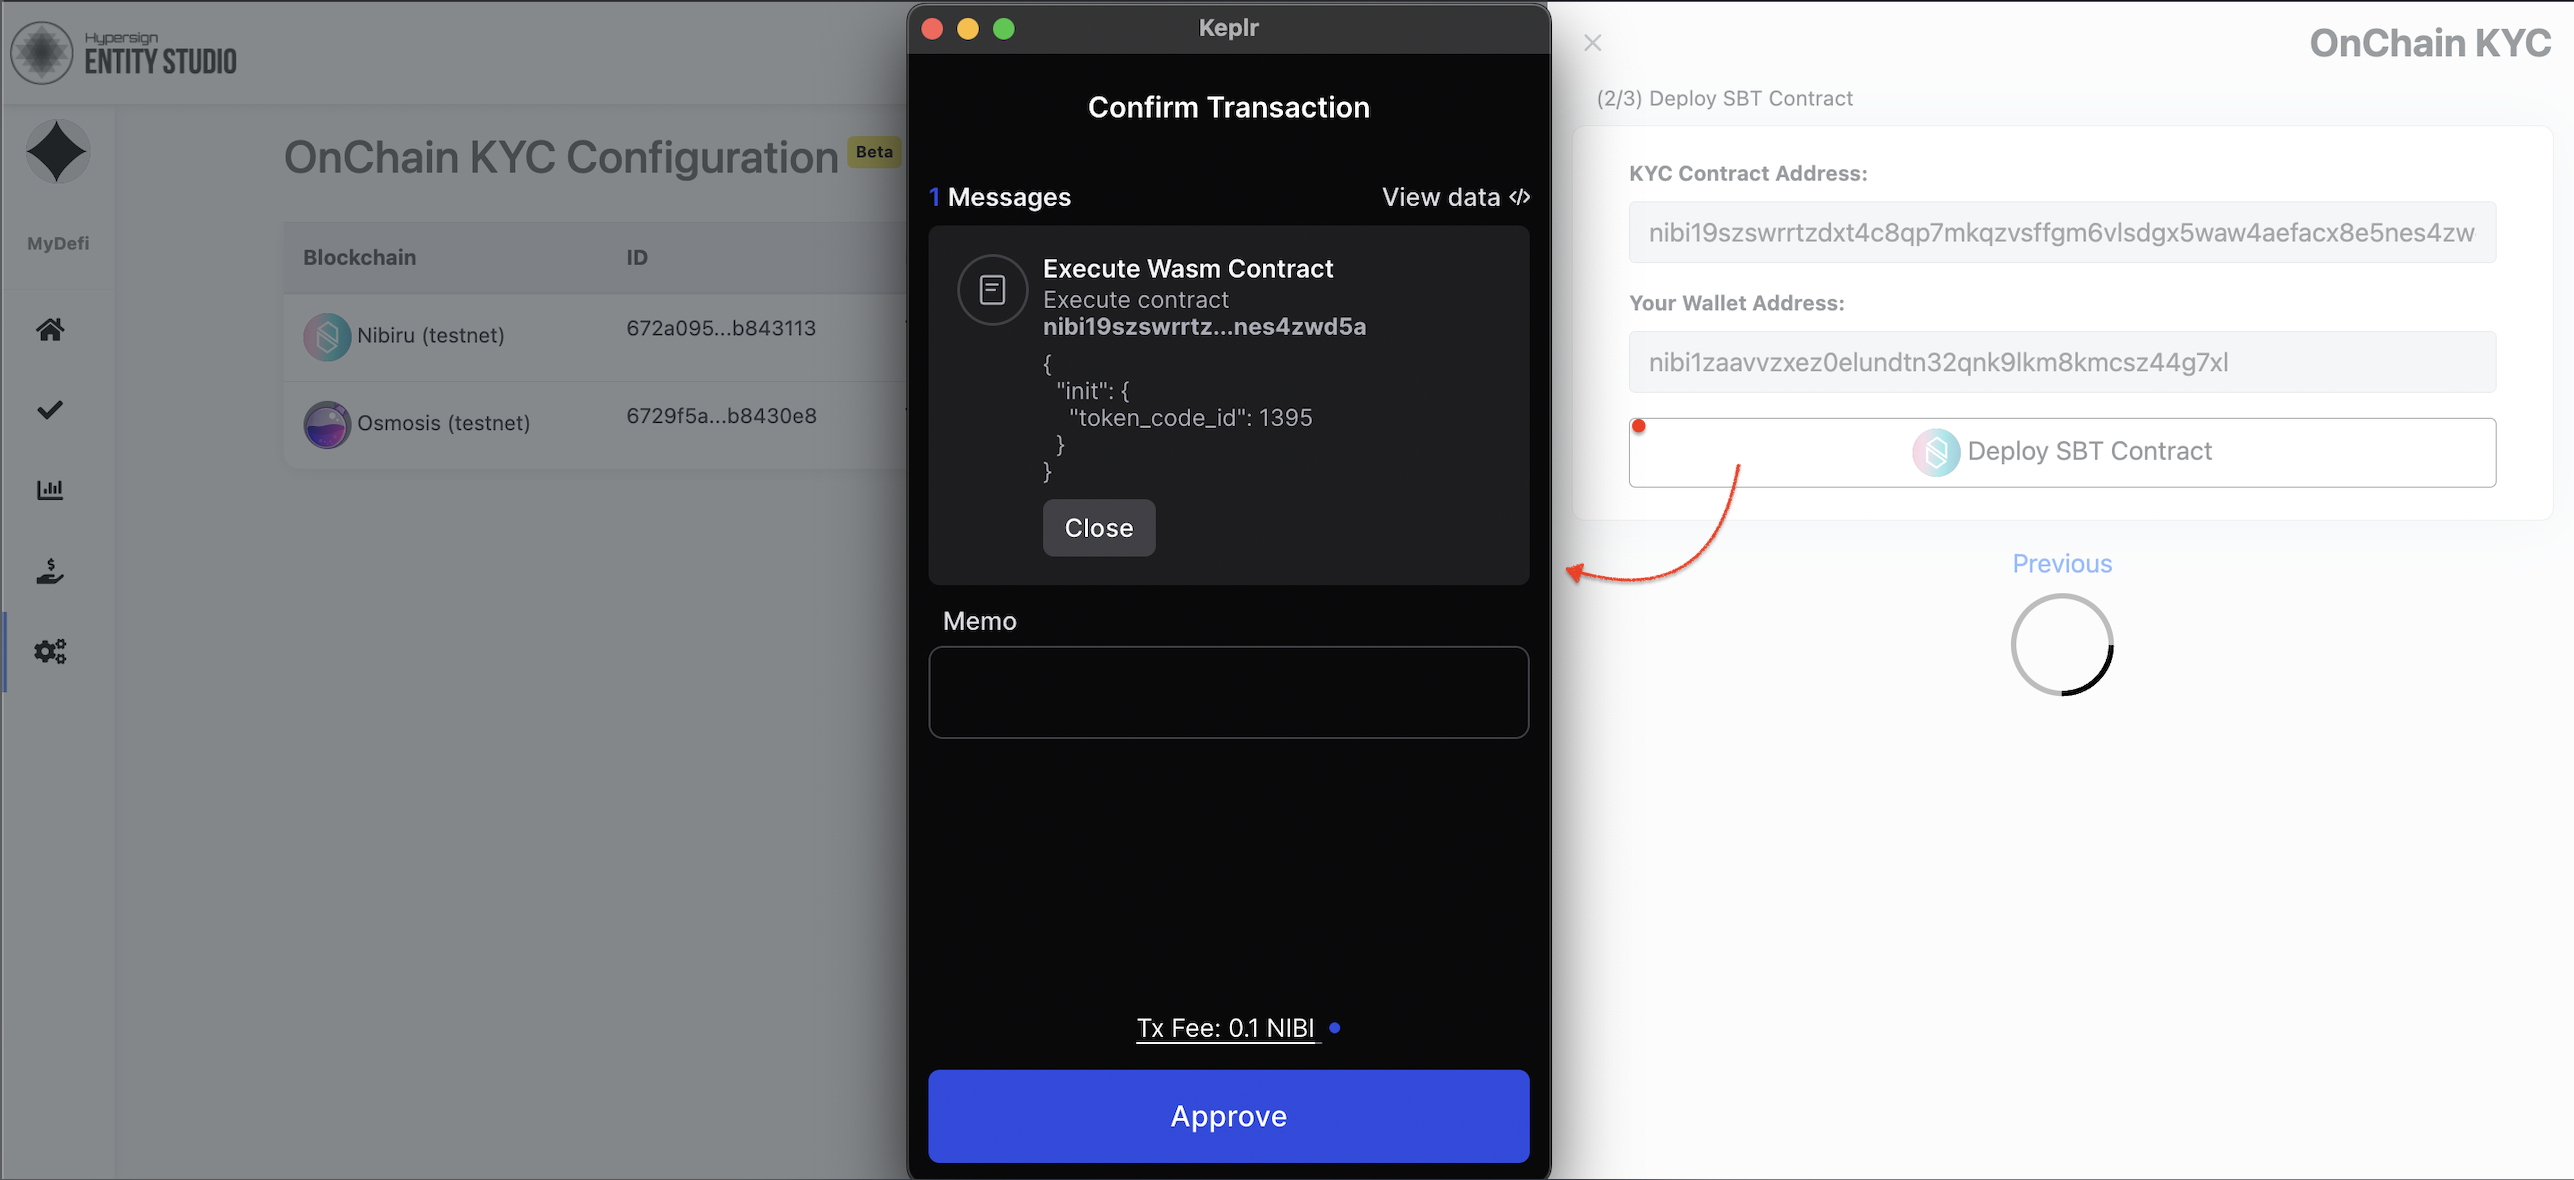
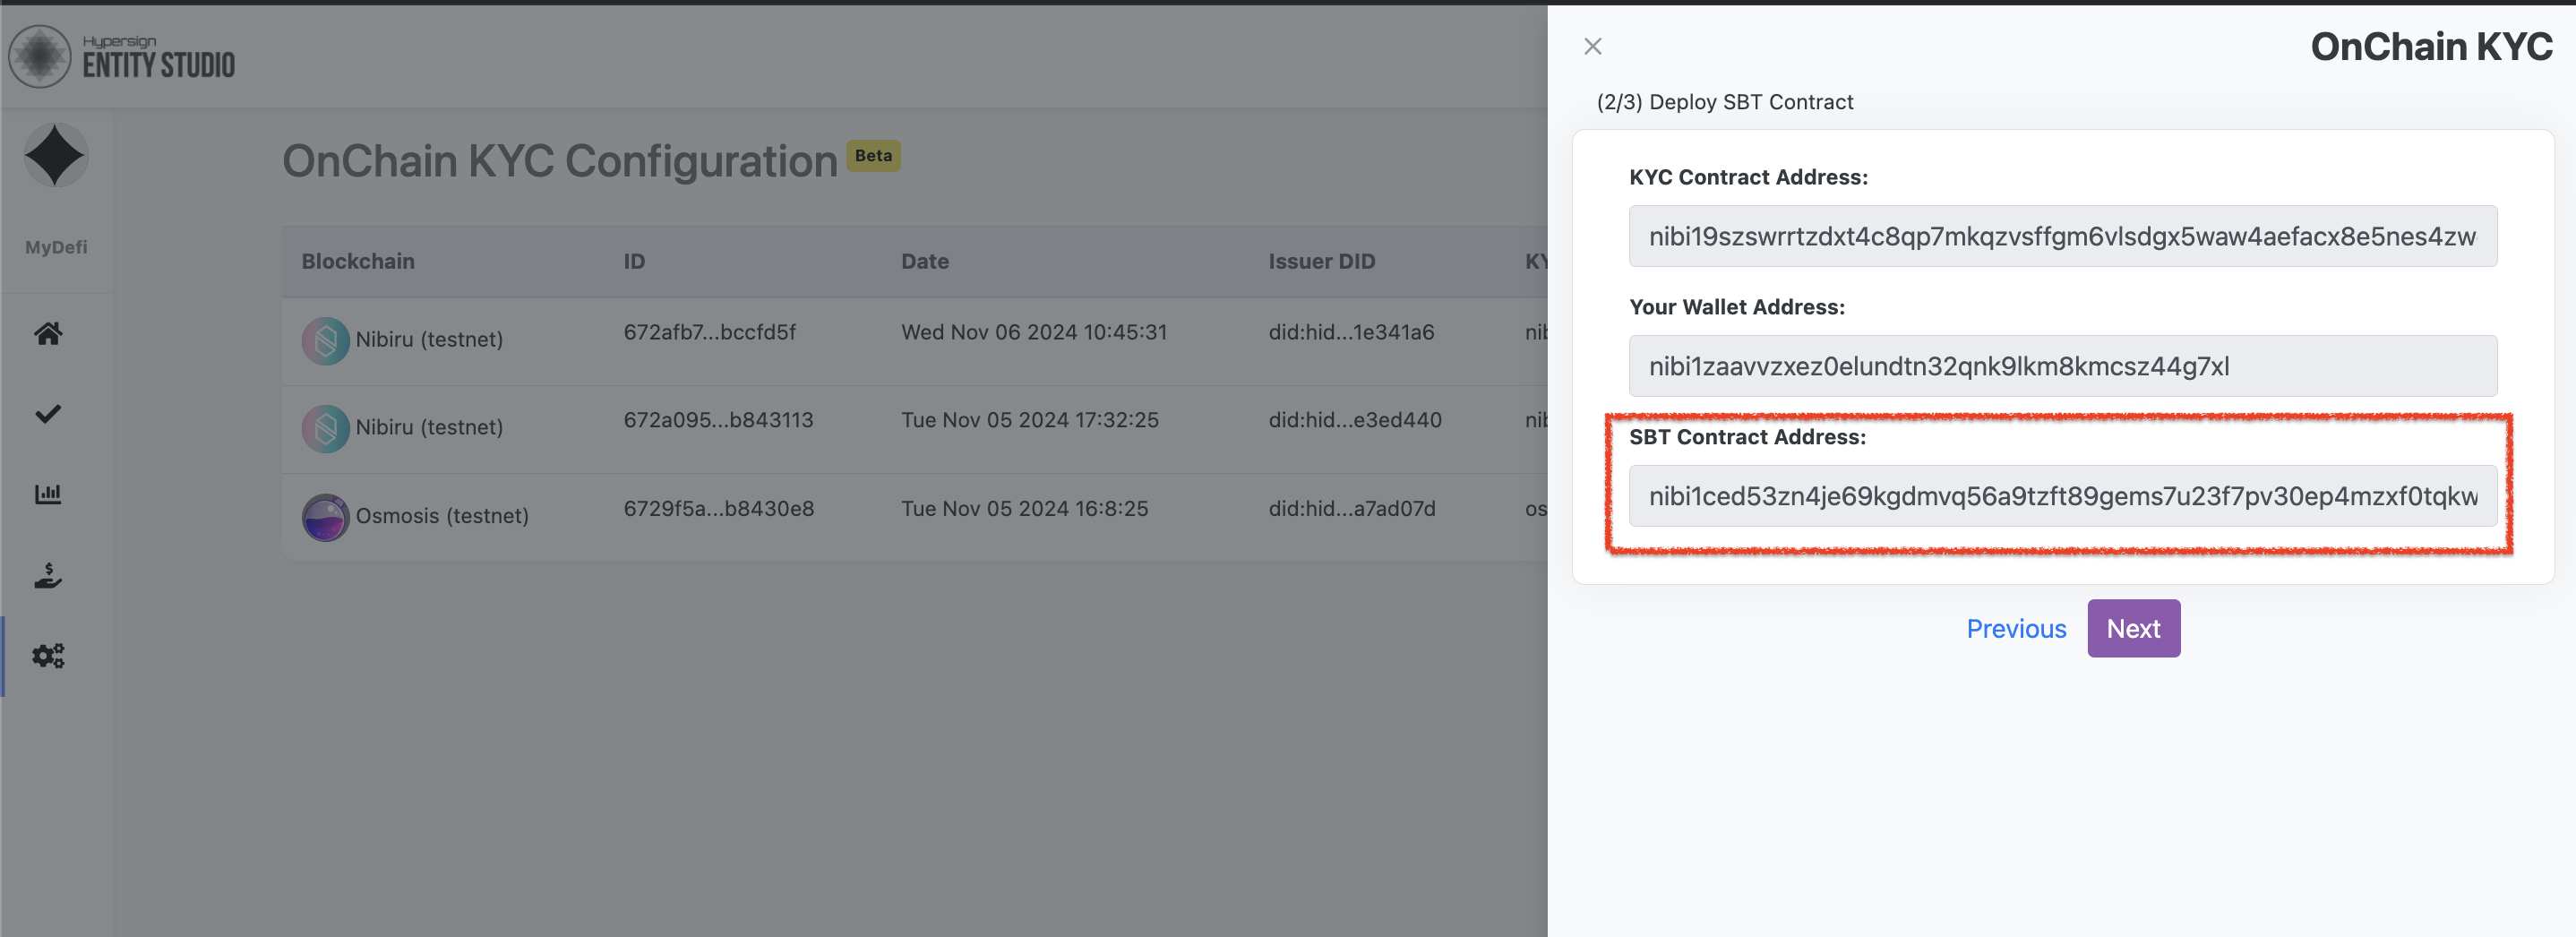
Same as before, authorize the transaction through your wallet to deploy your brand new KYC token contract.
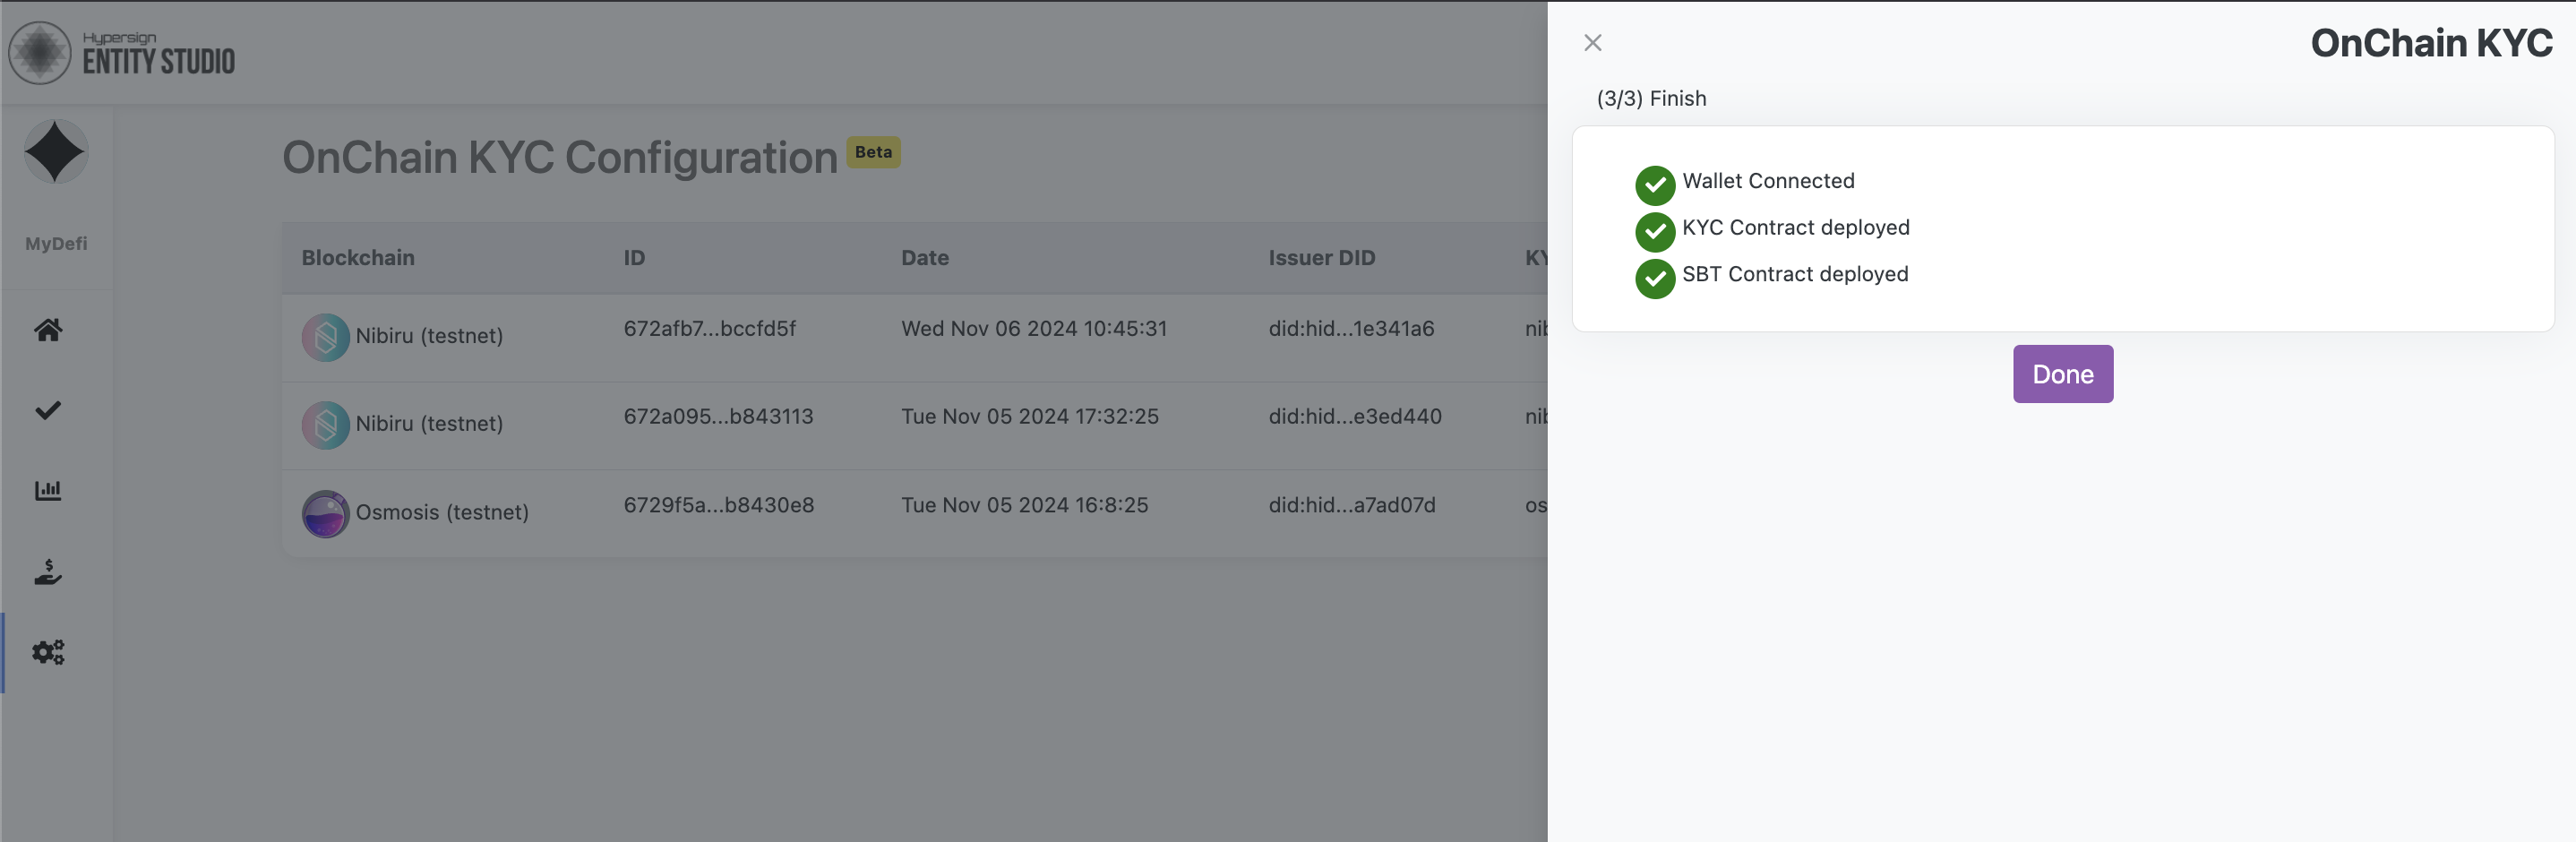
Once the transaction is successfull, you will see KYC token contract address in the slider.
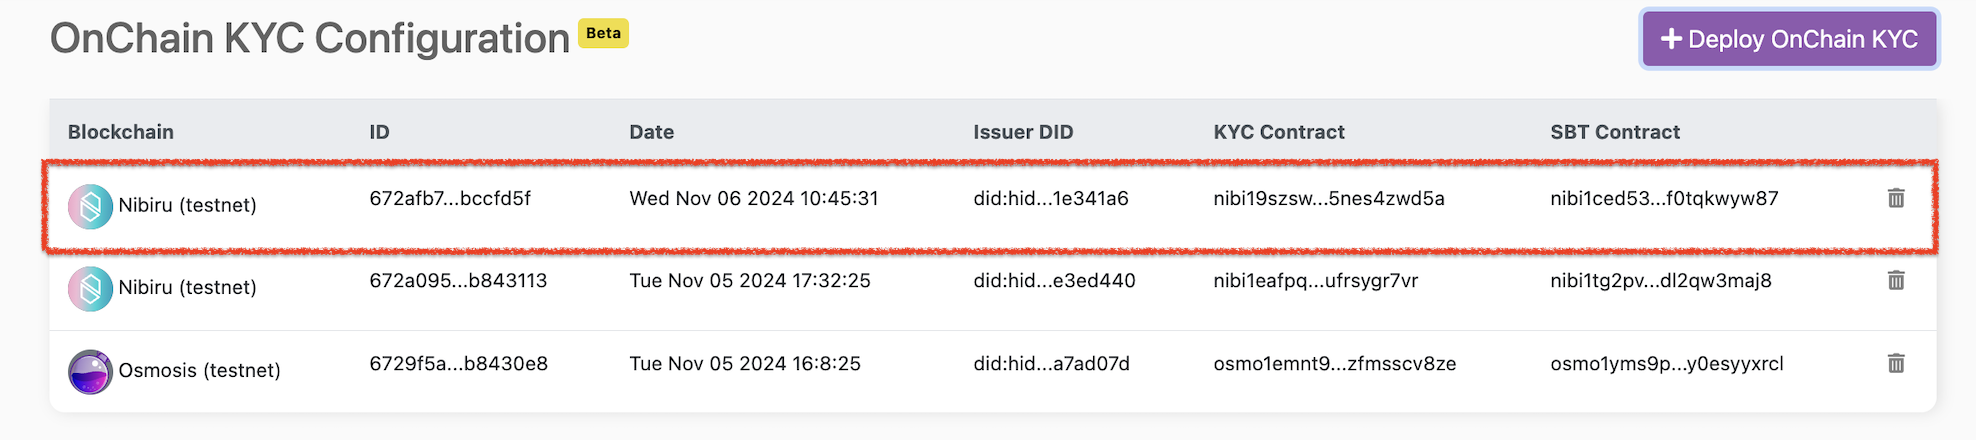
And your configuration is completed. Please note the configuration ID (2nd column) in the configuration record, we would need to set this configuration ID in the widget configuration.
Now that we have deployed our contracts, let's go ahead and enable this [on chain kyc configuration](/hypersign-id/integrations/widget-configuration.md#on-chain-kyc) in the widget setting page:
{% content-ref url="/pages/xBCcYcpL4pIdVZ2xEhiP" %}
[Widget Configuration](/hypersign-id/integrations/widget-configuration.md)
{% endcontent-ref %}